
To increase the additional functionality in the default software the TCP file is used, when we attach TCP through Control Centre one copy of the TCP is stored in your Tally.NET account, The attached TCP gives full control to the administrator so that the file cannot be removed or deleted, when the Tally program loads it checks for the TCP attached and if not found file is copied to the Tally Program.
If the TCP is very important it should be always added through Control Center.
We will see how to attach the TCP file through Control Centre following the Steps below:
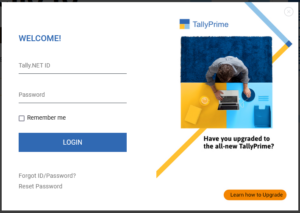
- Step 1 : Log in to your Tally.NET account by visiting www.tallysolutions.com > Login by providing Tally.NET Account Id and Password.
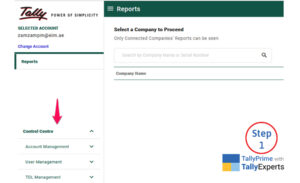
The Dashboard will open with all the details about your license. Click on Control Centre.
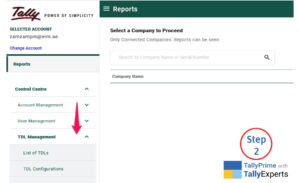
- Step 2 : Click TDL Management from the drop down menu.
- Step 3 : Click List of TDLs from the TDL Management Menu.

- Step 4 : Click on Upload Other TDL or Upload TDL from the right corner.

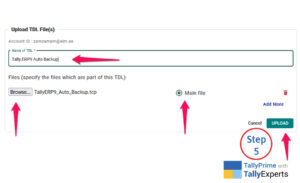
- Step 5 : You will get the option to upload the TDL File, give the name to identify the TDL, Unzip the TCP file and Browse to upload, select main file in radio button and upload the file.
- Step 6 : Now click the menu TDL Configuration from the TDL Management Menu.

- Step 7 : On the right hand side in the Configuration name, click the three dotts and click view and edit.

- Step 8 : Check the file added and save it.

- Step 9 : Open Tally Program and update the license. In Tally.ERP9 follow F12> Licensing > Update and in TallyPrime Follow Press F1 help button on right Upper corner > Settings > License > Manage License > Update enter the tally.net account id and password.
- Step 10 : Check your TDLs and Add On if it is attached.
0 Comments